Paso 1: Colocación, Trazando y Marcado del Portón
Ubicación
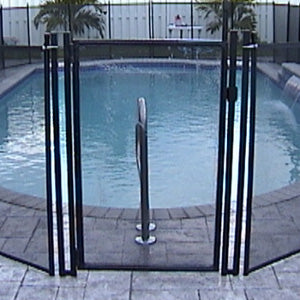
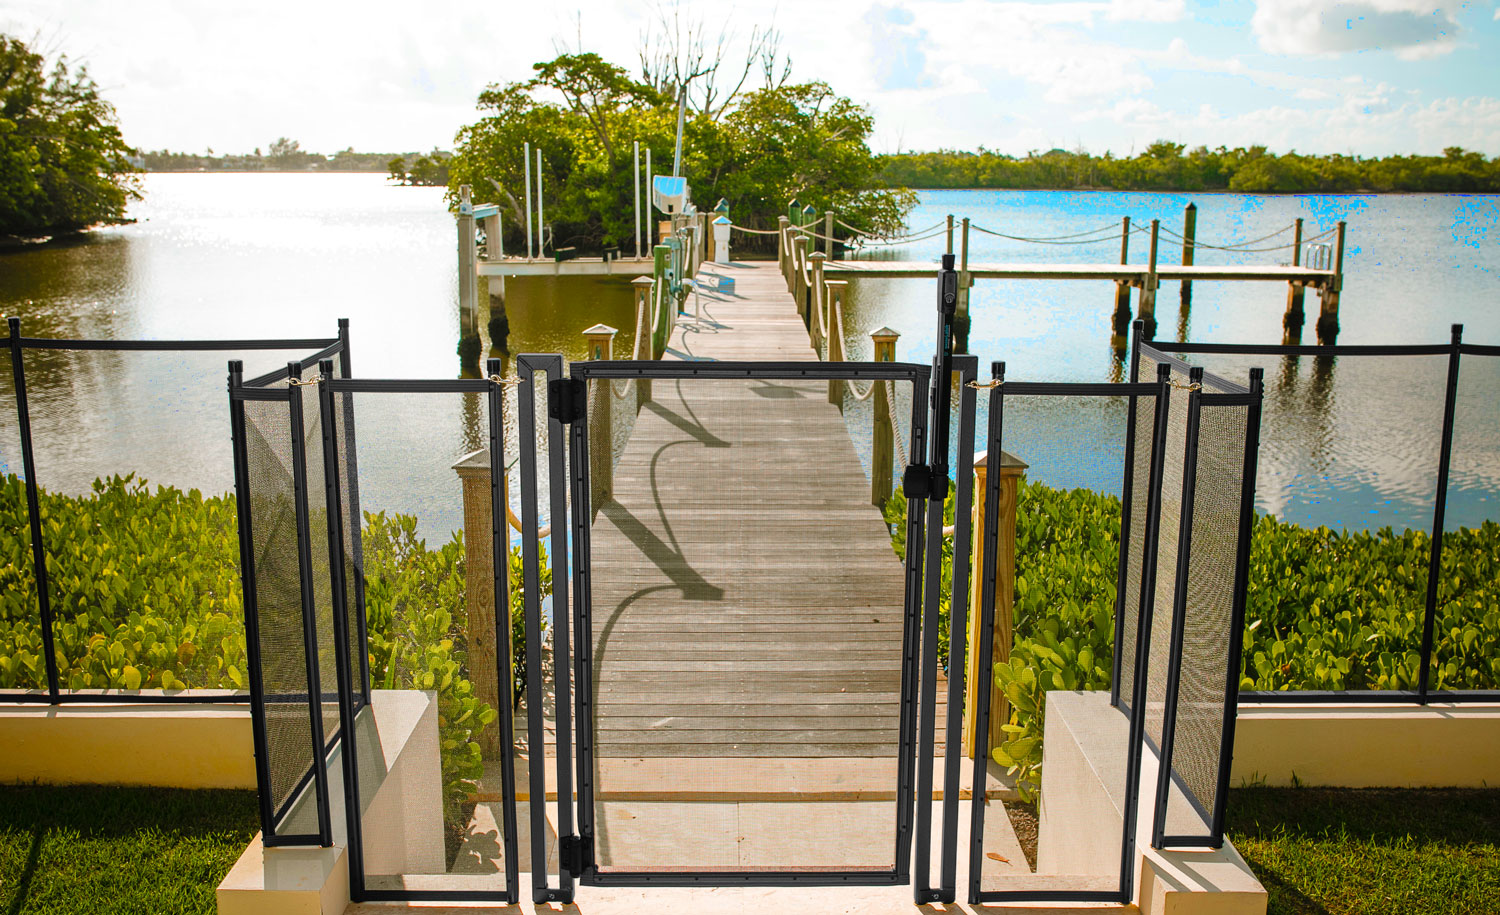
Tu nuevo Portón DIY viene con el marco soldado y una malla adjunta para mayor comodidad. El primer paso para instalar el portón es decidir la colocación. Por causa del movimiento del portón, se funciona mejor en un área en lo que el portón, el primer panel conectado de tres pies en la sección a la izquierda, y la primera sección conectada a la derecha están en la misma línea recta que se muestra en la Fig. 1.
**Si no es posible, llama al 561-316-6418**

NOTA: Recuerda asegurarse de que cuando marques tu portón la mantenga a tres pies del borde de la piscina para permitir una distancia segura para caminar cuando la cerca esté ensamblada. Lo mismo debes tenerte en cuenta también para el resto de la cerca. La Fig. 1 también muestra que el portón y los dos paneles están en la misma línea recta.
Marcado del Portón
- Primero marca su primer agujero en la Plantilla del Portón, que es el primer agujero de la sección que va a la izquierda del portón (agujero L1) (consulta la Fig. 2). Nota: L1 estará en línea recta y debe taladrarse de nivel.

- Siguiente, marca los cuatro agujeros interiores del portón etiquetados como G1, G2, G3, & G4 que se ven en Fig. 3 (abajo).

- Marca tu último agujero en la plantilla (agujero R1). Este es el primer agujero de la sección que va a la derecha de la piscina (Fig. 4).

- Retira la Plantilla del Portón del suelo, coloca la Plantilla de la Cerca DIY y marca tu segundo agujero (agujero 2), que es el segundo agujero en la sección que va a la izquierda de la piscina. Luego desliza tu plantilla encima del último agujero que marcaste a la derecha R1 y marca otro agujero (agujero 2). Este es el segundo agujero en la sección que va a la izquierda de la piscina (consulta la Fig. 5).

Nota: R1 estará en línea recta y debe taladrarse de nivel.
- Se marcan el portón y los dos primeros postes de la sección que va a la izquierda y de la sección que va a la derecha. Ahora sigue las instrucciones en la Guía de Instalación de la Cerca que comienza en la página 3 que muestra el diagrama abajo. (No necesitas agregar agujeros en el portón cuando tiene un portón de cierre automático a menos que estés colocando un portón manual en otra área a lo largo del recorrido de la cerca). (Recuerda que ya has marcado los dos primeros agujeros en ambas secciones a la izquierda de la piscina y la sección que va a la derecha. Comenzará marcando el tercer agujero en la sección a la derecha.) Sigue la Guía de Instalación de la Cerca hasta que esté el momento de taladrar el portón.
Marca
Ahora marca los siguientes tres agujeros (exactamente según la plantilla) que son los agujeros del medio (Fig. 6 y 6a).

Design Your Own Pool Fence
Calculator Step 1 of 14
Installing a Complete or Partial Fence?
Will your fence go completely around the pool, or will you be attaching it to an existing wall or barrier?
Fence will go completely around the pool
Fence will be attached to existing fence or wall


Calculator Step 2 of 14
Fence Height
($9.88 / foot)

*MOST POPULAR*
($15.33 / foot)

*Meets California code*
Calculator Step 3 of 14
Fence Color


Calculator Step 4 of 14
Total Fence Length
What is the total length in feet you will need for your fence?
If your fence will be completely in a hard surface, e.g. concrete, thick wood, tiles over concrete or a hard subsrate, stone, etc., leave the number of feet over grass as "0" and vice versa.
If your fence will be partly in a hard surface and partly in grass, enter the total number of feet of fence you will need in each surface into the two fields below.
Calculator Step 5 of 14
Arched or Flat Top Gate
Your self-closing gate can either have the standard flat top or be upgraded to an arched top.


Calculator Step 6 of 14
Self-Closing, Self-Latching Gates
How many self-closing, self-latching gates would you like?
Gates that will be in a hard surface
Gates that will be in grass/dirt
The Pool Fence DIY system includes a manual opening at no charge. Self-closing, self-latching gates are recommended by everyone from the American Academy of Pediatrics to the Consumer Product Safety Commission to the National Drowning Prevention Alliance. Besides being safer, they are also MUCH more convenient. A must if you have older children who use the pool.
Calculator Step 7 of 14
90° Turn Posts
Are you making any 90° turns? If yes, how many?

Calculator Step 8 of 14
Accessories
This item is HIGHLY recommended to ensure the fence is properly installed.
Will you need the Pool Fence DIY Drilling Guide with Bubble Level?
$0.00 $122.56

Calculator Step 9 of 14
Rotary Hammer Drill
The Pool Fence DIY Rotary Hammer Drill is the recommended hammer drill for installing this style of mesh pool fencing. Having the right tool for the right job makes installation go smoother. It also comes with a 16" long x 5/8" diameter drill bit, which is the recommended bit for this installation and is the correct length for the Pool Fence DIY Drill Guide, which is highly recommended.
$217.99 $173.61

Calculator Step 10 of 14
Drill Bits
Do you need the correct bit for your hammer drill (or an extra bit)?
Pool Fence DIY SDS-Plus Masonry Bit 5/8th Inch Diameter by 16 Inch Length (compatible with the Pool Fence DIY Rotary Hammer Drill)
Pool Fence DIY Standard (Smooth Shank) Masonry Bit 5/8th Inch Diameter by 16 Inch Length (for non-SDS compatible hammer drills)
$21.98 each

$21.35 each

Calculator Step 11 of 14
Do you want storage bags for your fence sections?
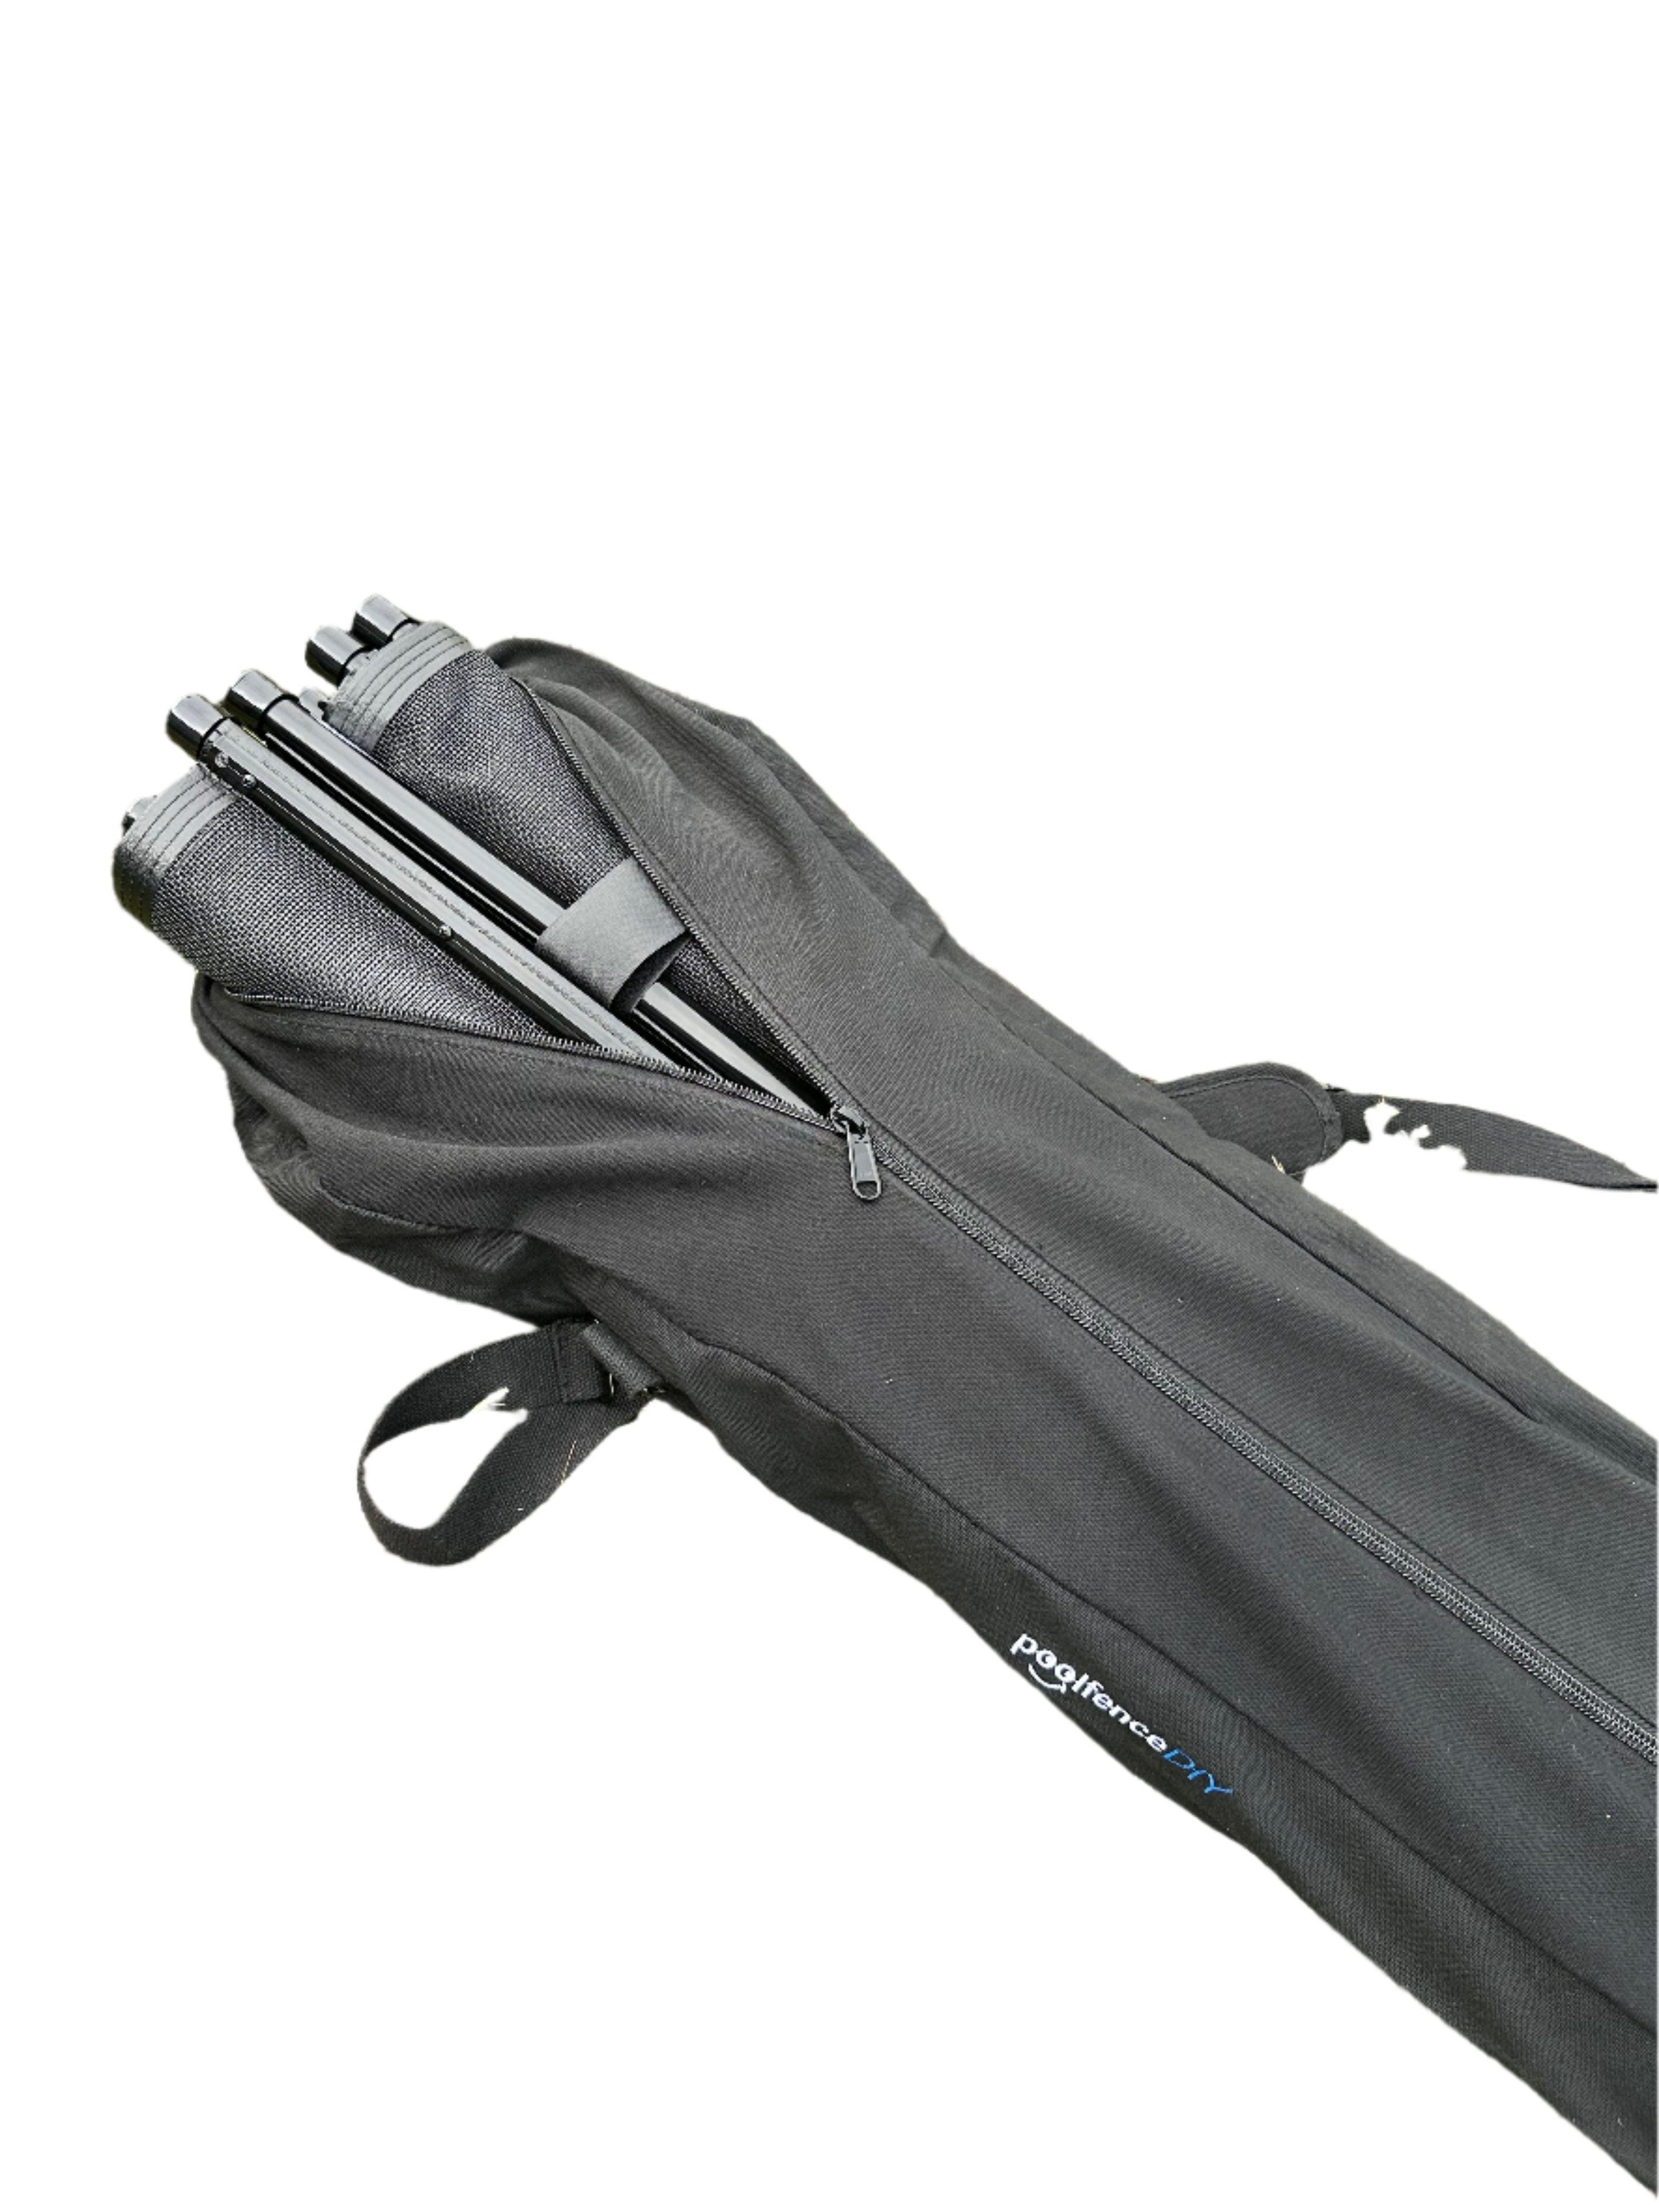
Our Pool Fence Section Storage Bag offers a reliable and convenient way to store and transport your fence sections. Each bag is designed to hold two 4-foot sections and includes two smaller straps to wrap each section securely, keeping everything compact and ready for storage. Made from heavy-duty canvas with a strong zipper, this bag is built for durability. Rubber pads on the bottom prevent canvas wear and slipping when the bag is stood on end. With a comfortable shoulder strap for easy carrying, this storage bag is an ideal choice for off-season storage or anytime your pool fence is not in use.
$39.00 each

Calculator Step 12 of 14
How many Solar Lights do you want on your fence?
$10.22 each
Quantity:


Calculator Step 13 of 14
Do you want to add Omni-Hangers to your fence?
How many two-packs you would like with your fence?
$25.24 per two-pack
Quantity:


