Step 4: Making Your Custom Cut
Measure Your Custom Cut
Your custom section is the one that doesn’t fit. The first step is to measure your custom cut. Note whether you will be cutting from the right side or the left side of the full section. See Fig. 21 below.

PRO NOTE: When measuring for a custom cut or cutting fence you should always remember that the mold-ings face out away from the pool. When measuring your cut section, always face the pool.
Measure the outside centerline of the odd panel. Next, count the number of poles in the odd section and double check whether it is a cut to the right or a cut to the left. See Fig. 22-23. For additional information call 561-316-6418.


If you notice in Fig. 22 our example custom cut is a 4 pole and then a cut to the right. Let's say this cut is a 4 pole 23 1/2" to the right. When you measure make sure you are measuring between the two centerlines of either hole. Fig. 23 illustrates the scribe lines but, when you are ready to measure for your cut you will be dealing with drilled holes in the concrete and there will be no scribe lines drawn across the holes. The scribe lines in the gure are to remind you that if your cut happens to fall on a turn, you must remember that your center line turns as well.
Make Your Cut
Now you have the measurement and you can make the cut. Roll out your full section (screws facing up) in front of the custom cut area and face the pool. Looking at the full section count the poles over until you reach the panel that needs to be cut. Our example cut is a 4 pole 23 1/2" to the right. See Fig 24 below.

Hold your tape measure on the OUTSIDE OF THE MOLDING as shown in Fig. 25 and make a mark on the border at the top and bottom of the fence with a marker.

Using your scissors you can proceed to cut the mesh. Sliding your ruler up against the molding to make sure you are cutting at exactly the measurement you took. See Fig. 26 Make sure the mesh is tight and remove the extra pole from the extra piece.

Your cut has been made and you now have to attach the border material included. Place mesh between both flaps of the border and slide the strip of border down the mesh then staple it on. Staples should be 1/4" off line of mesh in border. See Fig. 27-28. Make sure the mesh is fully inserted inside the border material included.


Now your border has been attached to the cut side of the mesh. Cut of excess border. Your next step is to attach the pole you removed in Fig. 26 to the cut side.
The best way to attach your pole to the cut is as follows:
- Lay your molding strip on top of the border you just attached. Fig. 29

- Line up molding so that it’s ush with bottom & ush with line of mesh. Make sure all staples are covered by molding Fig. 29.
- Screw one screw into the molding at the top until it comes completely through the molding mesh and border.
- Then put one screw into the molding at the bottom until it comes through to the other side of the molding and mesh. Your molding should now be attached with 2 screws to the cut piece of the fence.
- Slide your pole underneath the molding & mesh, and align the screws that came through the otherside to the corresponding holes of the pole. Partially back out your top screw while keeping pressure on the molding and the pole to keep it from moving. Then slowly drive the screw back down into the pole. Repeat this step for the bottom screw. See Fig. 30

- Finally place the rest of the screws into the pole and slowly screw them down. Your end pole is now attached. For additional information call 561-316-6418.
Design Your Own Pool Fence
Calculator Step 1 of 14
Installing a Complete or Partial Fence?
Will your fence go completely around the pool, or will you be attaching it to an existing wall or barrier?
Fence will go completely around the pool
Fence will be attached to existing fence or wall


Calculator Step 2 of 14
Fence Height
($9.88 / foot)

*MOST POPULAR*
($15.33 / foot)

*Meets California code*
Calculator Step 3 of 14
Fence Color


Calculator Step 4 of 14
Total Fence Length
What is the total length in feet you will need for your fence?
If your fence will be completely in a hard surface, e.g. concrete, thick wood, tiles over concrete or a hard subsrate, stone, etc., leave the number of feet over grass as "0" and vice versa.
If your fence will be partly in a hard surface and partly in grass, enter the total number of feet of fence you will need in each surface into the two fields below.
Calculator Step 5 of 14
Arched or Flat Top Gate
Your self-closing gate can either have the standard flat top or be upgraded to an arched top.


Calculator Step 6 of 14
Self-Closing, Self-Latching Gates
How many self-closing, self-latching gates would you like?
Gates that will be in a hard surface
Gates that will be in grass/dirt
The Pool Fence DIY system includes a manual opening at no charge. Self-closing, self-latching gates are recommended by everyone from the American Academy of Pediatrics to the Consumer Product Safety Commission to the National Drowning Prevention Alliance. Besides being safer, they are also MUCH more convenient. A must if you have older children who use the pool.
Calculator Step 7 of 14
90° Turn Posts
Are you making any 90° turns? If yes, how many?

Calculator Step 8 of 14
Accessories
This item is HIGHLY recommended to ensure the fence is properly installed.
Will you need the Pool Fence DIY Drilling Guide with Bubble Level?
$0.00 $122.56

Calculator Step 9 of 14
Rotary Hammer Drill
The Pool Fence DIY Rotary Hammer Drill is the recommended hammer drill for installing this style of mesh pool fencing. Having the right tool for the right job makes installation go smoother. It also comes with a 16" long x 5/8" diameter drill bit, which is the recommended bit for this installation and is the correct length for the Pool Fence DIY Drill Guide, which is highly recommended.
$217.99 $173.61
Sorry, item currently out of stock.

Calculator Step 10 of 14
Drill Bits
Do you need the correct bit for your hammer drill (or an extra bit)?
Pool Fence DIY SDS-Plus Masonry Bit 5/8th Inch Diameter by 16 Inch Length (compatible with the Pool Fence DIY Rotary Hammer Drill)
Pool Fence DIY Standard (Smooth Shank) Masonry Bit 5/8th Inch Diameter by 16 Inch Length (for non-SDS compatible hammer drills)
$21.98 each

$21.35 each

Calculator Step 11 of 14
Do you want storage bags for your fence sections?
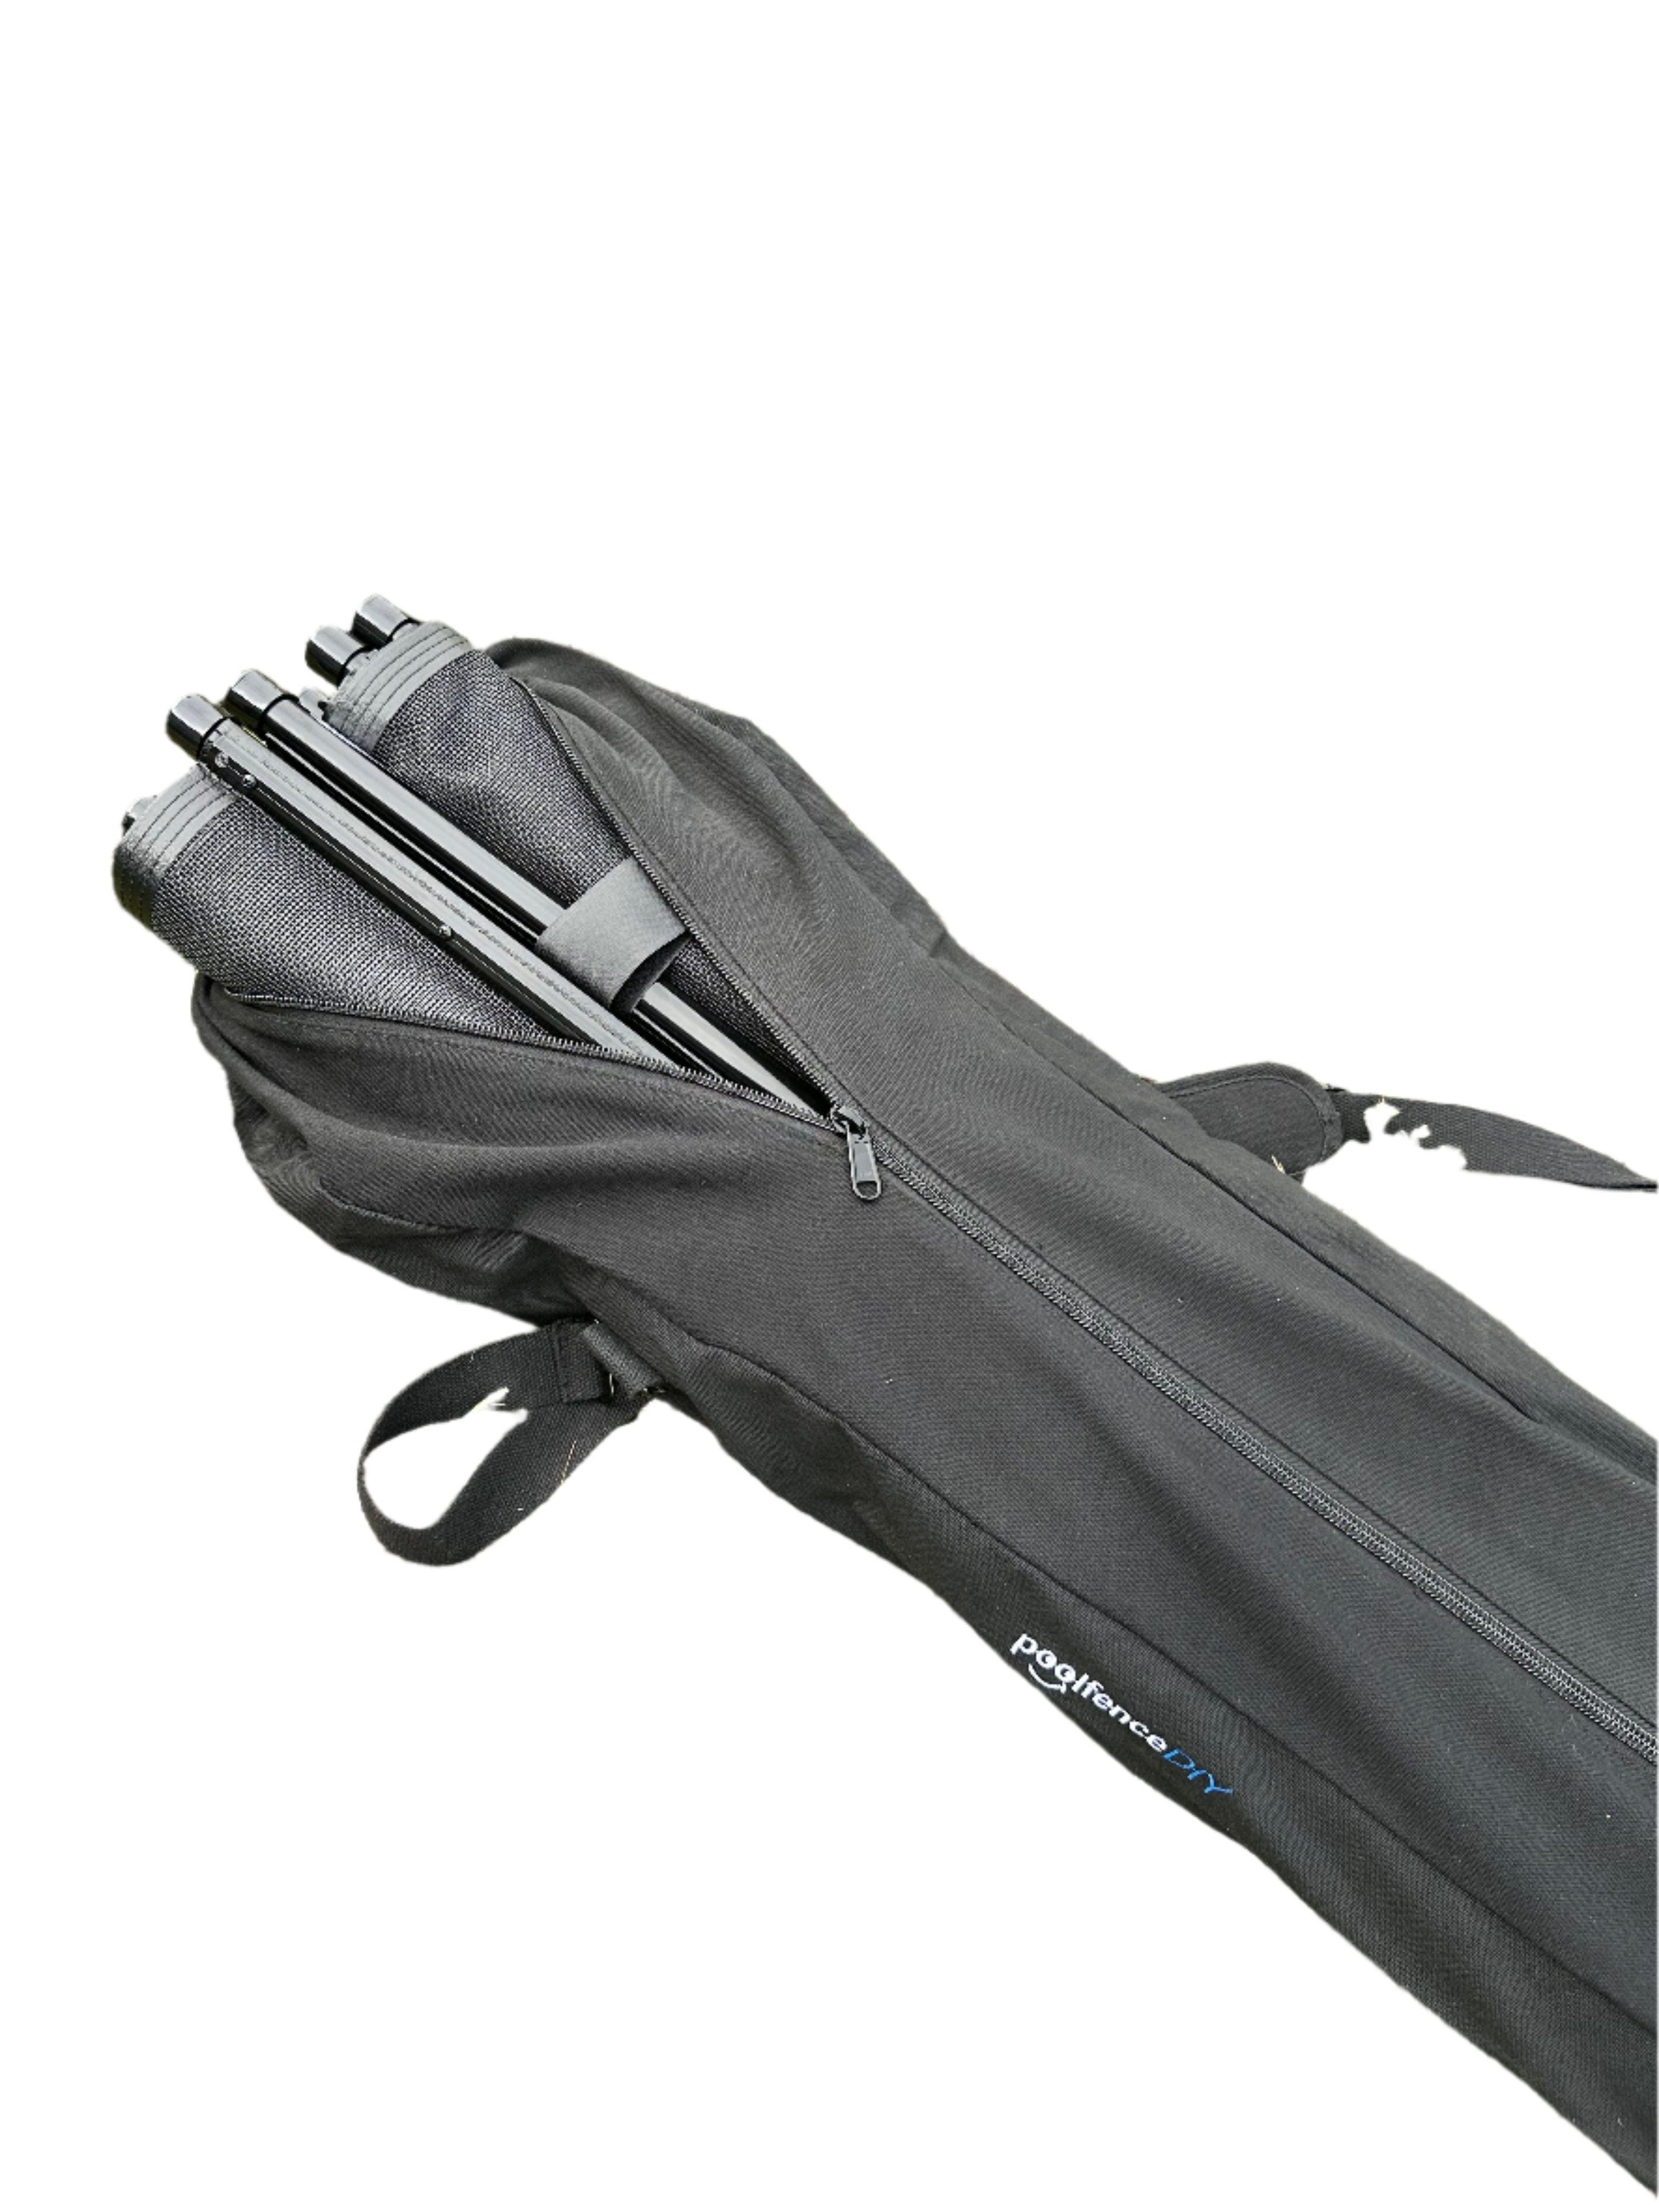
Our Pool Fence Section Storage Bag offers a reliable and convenient way to store and transport your fence sections. Each bag is designed to hold two 4-foot sections and includes two smaller straps to wrap each section securely, keeping everything compact and ready for storage. Made from heavy-duty canvas with a strong zipper, this bag is built for durability. Rubber pads on the bottom prevent canvas wear and slipping when the bag is stood on end. With a comfortable shoulder strap for easy carrying, this storage bag is an ideal choice for off-season storage or anytime your pool fence is not in use.
$39.00 each
Sorry, item currently out of stock.

Calculator Step 12 of 14
How many Solar Lights do you want on your fence?
$10.22 each
Quantity:


Calculator Step 13 of 14
Do you want to add Omni-Hangers to your fence?
How many two-packs you would like with your fence?
$25.24 per two-pack
Quantity:


