Paso 1: Diseño & Delimitación
**Si utiliza una puerta de cierre automático, omita este paso y lea las instrucciones incluidas en la caja de la puerta.
Diseño
La cerca debe estar a un mínimo de 2 feet/60 cm a fuera del borde de la piscina. Puede colocar una manguera de jardín alrededor de la piscina o usar una cinta métrica. Ver Fig. 1 & Fig 2

Punto de Inicio
- Es la apertura manual para entrar en la zona de la piscina. Ver Fig. 1 Use el
agujero doble en la plantilla de sección provista y marque su primer orificio 1L Fig. 3. Ese orificio 1L será el primero de una sección que se instalará para el lado izquierdo de la piscina.

- Ahora ubique la plantilla sobre la mitad de 1L que acaba de marcar y marque su próximo agujero, 1R Fig. 4. 1R es para el primer poste de una sección que se instalará para el lado derecho de la
piscina. Esto se hace solo para el Punto de inicio de Apertura manual. Esto s pasos proveen una apertura más fácil de usar

Delimitación
- Una vez que ambos orificios de inicio están marcados, (1L & 1R) coloque la plantilla provista sobre el segundo agujero 1R Fig. 5.

- Luego ubique la plantilla sobre 1/4" de 1R y marque su segundo agujero para esa seccion. (Fig. 5a). Esto permite una instalación más fácil donde se encuentran 2 secciones.

- Ahora marque los siguientes tres agujeros (36" el tamaño de plantilla) que son los orificios centrales. Fig. 6-6a


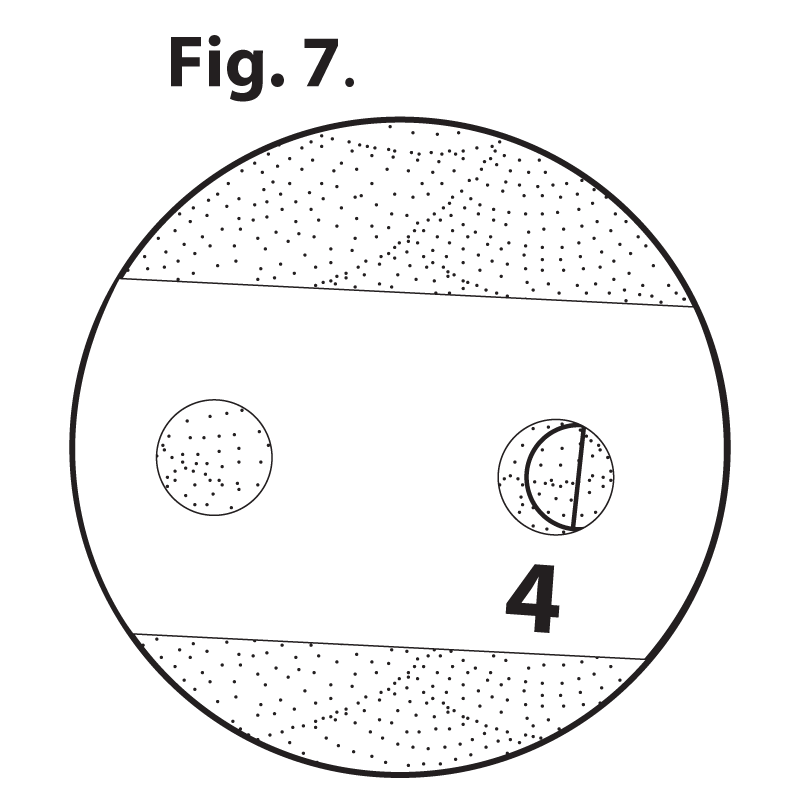
- Luego ubique la plantilla sobre 1/4" del orificio 4 y marque su último agujero para esa sección, (agujero 5) Fig. 7.


- Luego, utilice el doble agujero de la plantilla y alinearlo con el 5to orificio que marcó Fig. 7a y marcar el primer orificio de la sección subsiquiente que continuara a la derecha, (orificio 1). Repetir los pasos detallados a ambos lados de la piscina hasta alcanzar la sección que debe ser cortada para tener un cerco ajustado a las medidas requeridas.
El Ejemplo de la Diagramación Completa
- Ver Fig 8. Todas las secciones completas tienen 5 postes conectados por la malla. Siempre a segúrese de contar sus agujeros antes de marcar su siguente sección. También vuelva a contar sus agujeros nuevamente antes de taladrar para asegurarse de que no marcó demasiados o muy pocos agujeros.

Corte a Medida
Se presenta cuando la última pieza es menor que la plantilla de 36". Marcar su corte personalizado es como marcar un panel completo de 3 feet, solo el último panel suele ser más corto que 3 pies. Este es el corte personalizado que harás más tarde. Esta sección es la última que se marca, generalmente en la parte posterior de la piscina, donde no lo notará. La última pieza probablemente tendrá menos postes en ella. Este ejemplo muestra un corte de dos postes.
Orificios de Apertura
Son necesarios para la apertura manual de la cerca y se utilizan para colocar los 2 postes extremos de la sección cuando la piscina esta en uso. Fig. 9 & 10
Cerco: -----------

Design Your Own Pool Fence
Calculator Step 1 of 14
Installing a Complete or Partial Fence?
Will your fence go completely around the pool, or will you be attaching it to an existing wall or barrier?
Fence will go completely around the pool
Fence will be attached to existing fence or wall


Calculator Step 2 of 14
Fence Height
($9.88 / foot)

*MOST POPULAR*
($15.33 / foot)

*Meets California code*
Calculator Step 3 of 14
Fence Color


Calculator Step 4 of 14
Total Fence Length
What is the total length in feet you will need for your fence?
If your fence will be completely in a hard surface, e.g. concrete, thick wood, tiles over concrete or a hard subsrate, stone, etc., leave the number of feet over grass as "0" and vice versa.
If your fence will be partly in a hard surface and partly in grass, enter the total number of feet of fence you will need in each surface into the two fields below.
Calculator Step 5 of 14
Arched or Flat Top Gate
Your self-closing gate can either have the standard flat top or be upgraded to an arched top.


Calculator Step 6 of 14
Self-Closing, Self-Latching Gates
How many self-closing, self-latching gates would you like?
Gates that will be in a hard surface
Gates that will be in grass/dirt
The Pool Fence DIY system includes a manual opening at no charge. Self-closing, self-latching gates are recommended by everyone from the American Academy of Pediatrics to the Consumer Product Safety Commission to the National Drowning Prevention Alliance. Besides being safer, they are also MUCH more convenient. A must if you have older children who use the pool.
Calculator Step 7 of 14
90° Turn Posts
Are you making any 90° turns? If yes, how many?

Calculator Step 8 of 14
Accessories
This item is HIGHLY recommended to ensure the fence is properly installed.
Will you need the Pool Fence DIY Drilling Guide with Bubble Level?
$0.00 $122.56

Calculator Step 9 of 14
Rotary Hammer Drill
The Pool Fence DIY Rotary Hammer Drill is the recommended hammer drill for installing this style of mesh pool fencing. Having the right tool for the right job makes installation go smoother. It also comes with a 16" long x 5/8" diameter drill bit, which is the recommended bit for this installation and is the correct length for the Pool Fence DIY Drill Guide, which is highly recommended.
$217.99 $173.61
Sorry, item currently out of stock.

Calculator Step 10 of 14
Drill Bits
Do you need the correct bit for your hammer drill (or an extra bit)?
Pool Fence DIY SDS-Plus Masonry Bit 5/8th Inch Diameter by 16 Inch Length (compatible with the Pool Fence DIY Rotary Hammer Drill)
Pool Fence DIY Standard (Smooth Shank) Masonry Bit 5/8th Inch Diameter by 16 Inch Length (for non-SDS compatible hammer drills)
$21.98 each

$21.35 each

Calculator Step 11 of 14
Do you want storage bags for your fence sections?
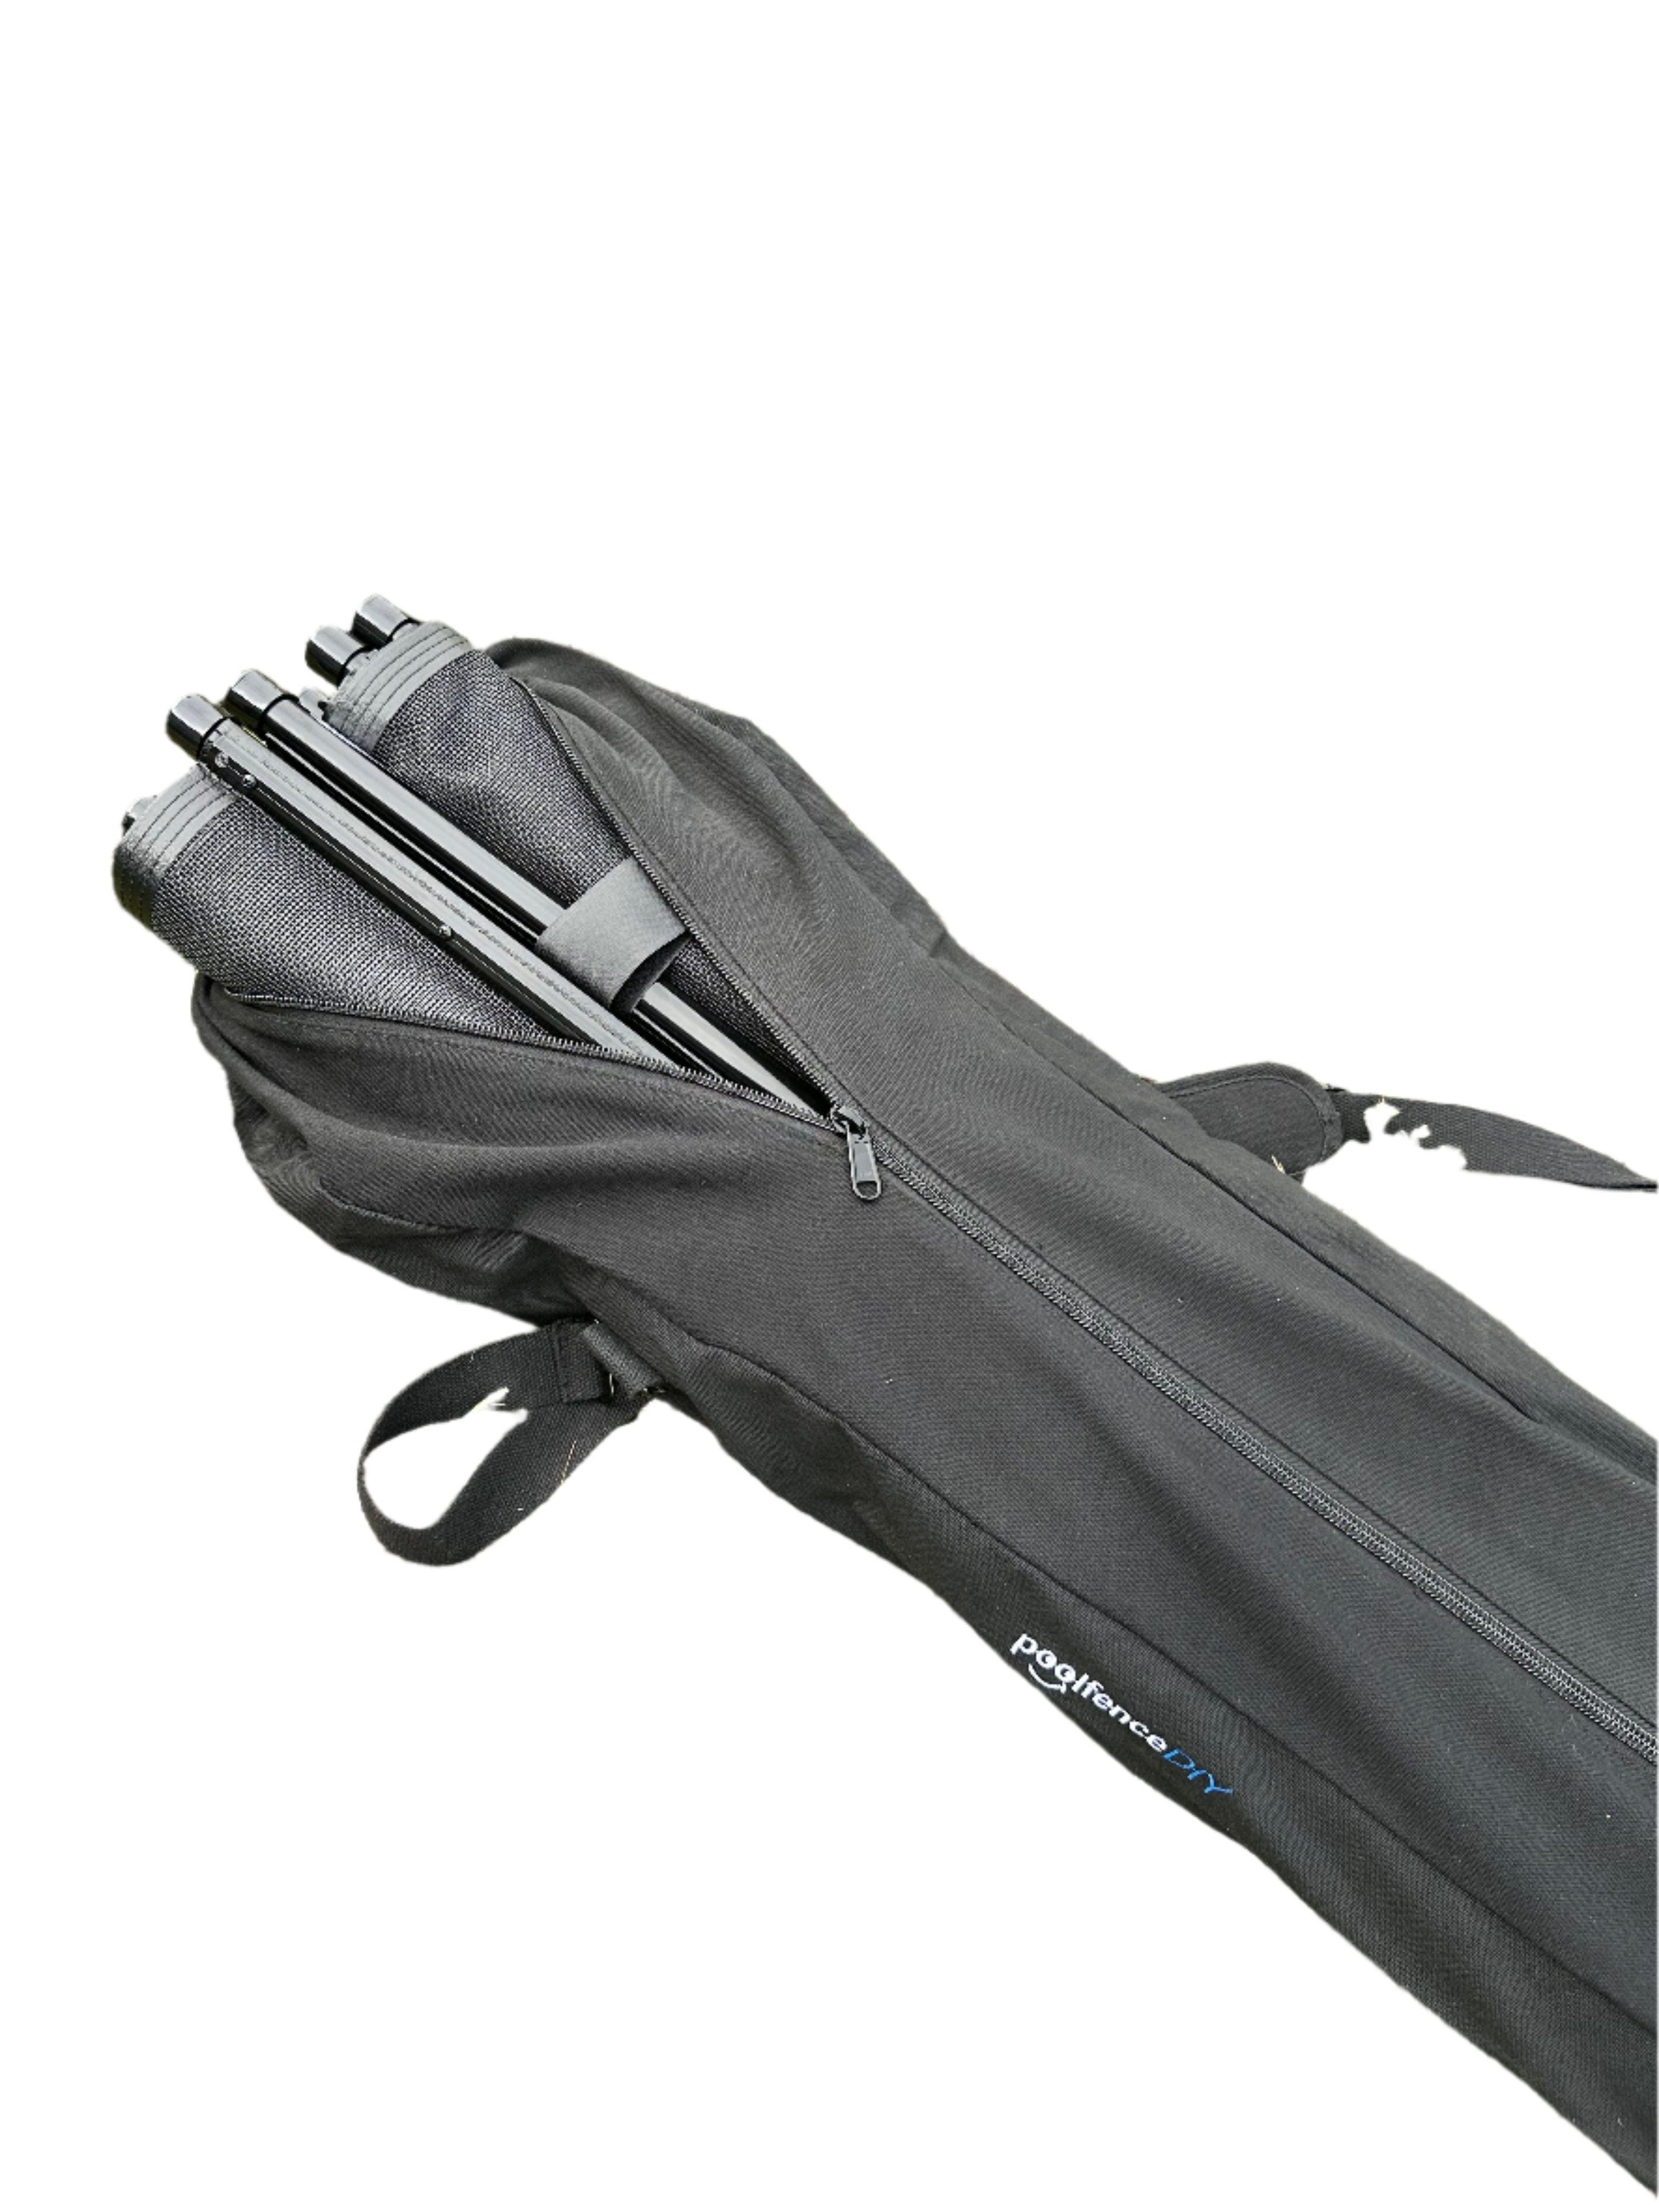
Our Pool Fence Section Storage Bag offers a reliable and convenient way to store and transport your fence sections. Each bag is designed to hold two 4-foot sections and includes two smaller straps to wrap each section securely, keeping everything compact and ready for storage. Made from heavy-duty canvas with a strong zipper, this bag is built for durability. Rubber pads on the bottom prevent canvas wear and slipping when the bag is stood on end. With a comfortable shoulder strap for easy carrying, this storage bag is an ideal choice for off-season storage or anytime your pool fence is not in use.
$39.00 each
Sorry, item currently out of stock.

Calculator Step 12 of 14
How many Solar Lights do you want on your fence?
$10.22 each
Quantity:


Calculator Step 13 of 14
Do you want to add Omni-Hangers to your fence?
How many two-packs you would like with your fence?
$25.24 per two-pack
Quantity:


